
Thanks for all the birthday wishes for the resident three year old Smurf. He has already requested another birthday. I told him he could have one next year.
One of the hits of the make your own lolly bags was the meringue rings. Inspired by what I now know to be a piece of jewellery (I have no idea where I originally saw it, but I bookmarked the photo and now I've googled the image and realised it was jewellery!)

So, armed with the piping bag I piped out a bunch. It's quite simple really. Pipe the circle for the ring - thinking about the size of the intended finger - and then pipe a star on the edge of the circle. Gently sprinkle sprinkles on the star. Bake as per normal meringues.
The kids went straight for them after the pink cake candles were blown out. They fit perfectly on little fingers and were nibbled straight off.

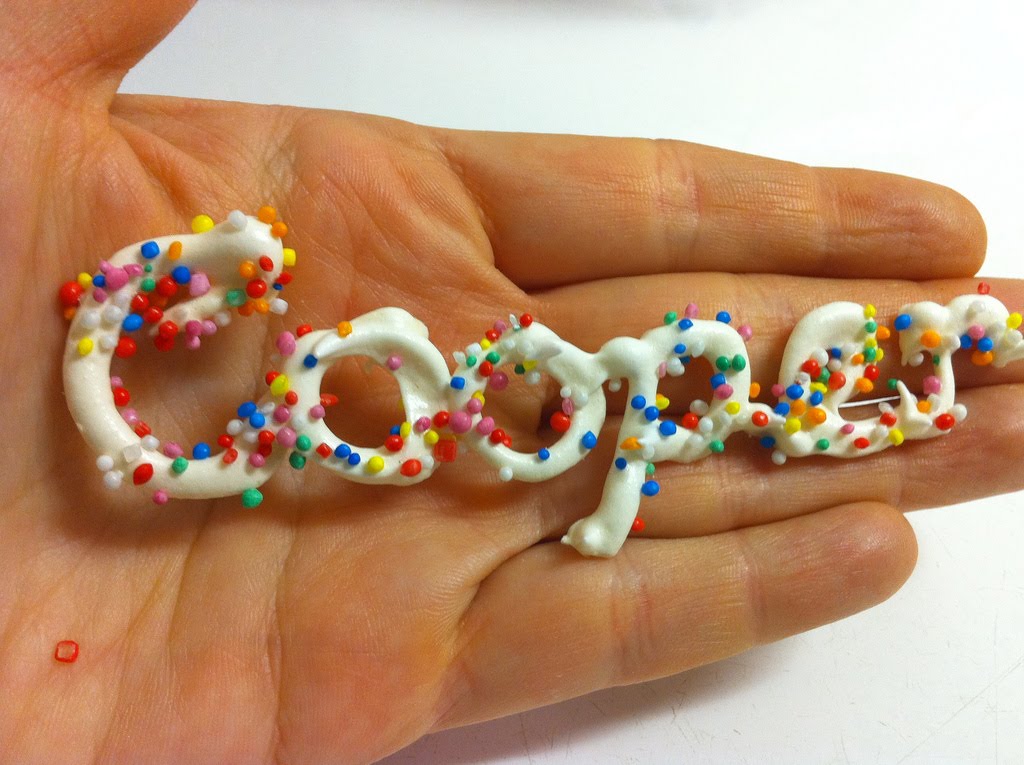
I had loads of meringue - even after a batch of actual meringues and meringue rings so I started to have a play around. I switched to my thinnest piping nozzle and started to pipe the kids names. I got happy with the sprinkles and baked them alongside the rest of the sugary eggwhite.

They turned out fab. But in my haste to admire them I cracked each and every one of them as I lifted them off the tray. So, if you try these, here are some tips:
- Err on the side of thicker when piping
- Look out for skinny parts of letters (see beginning of the 'm' in Sam below)
- Make sure you leave them to completely cool on the tray
- Use a flat spatula to very carefully slide them off the tray.

Also, only invite kids with short names to your party - less risk of breakage with less letters.
No comments:
Post a Comment